There are countless reasons to visit Merridale Cidery. I’ve listed 9 of them here, all of which place it near the top if my list of local Cowichan Valley tours.
Merridale Cidery is located on the southeast coast of Vancouver Island between Victoria and Nanaimo. Follow the Wine Route signs from the main highway to get to the orchard. (See the map below.)
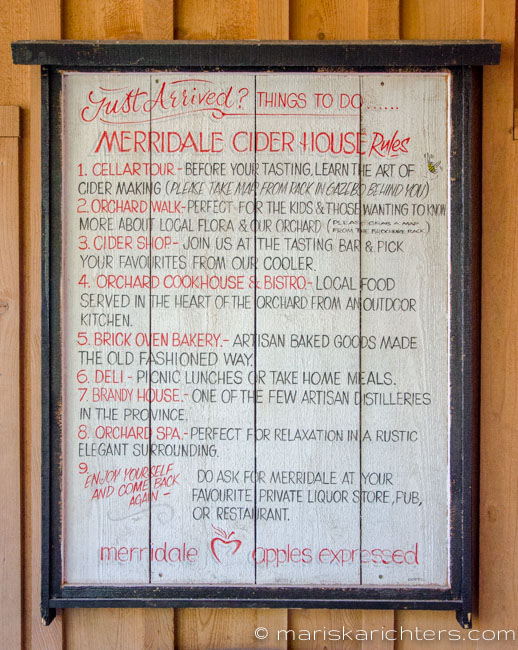
9 Reasons to Visit Merridale Cidery
1. Orchard Tour
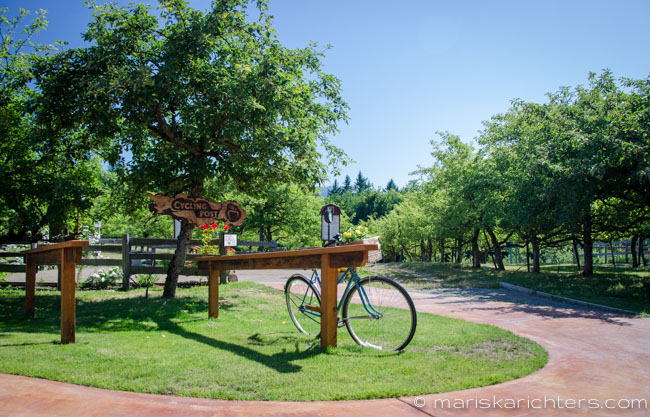
Merridale does not disappoint with its gorgeous orchard. Merridale is located in Cobble Hill, BC, one of the area’s main farming regions. It’s well worth taking a walk around the orchard and taking the fun and interactive self-guided tour to get a good thirst going before you hit their tasting room to sample their refreshingly delicious products. Be sure to ask any questions that may arise when you hit up the cider bar for a tasting.
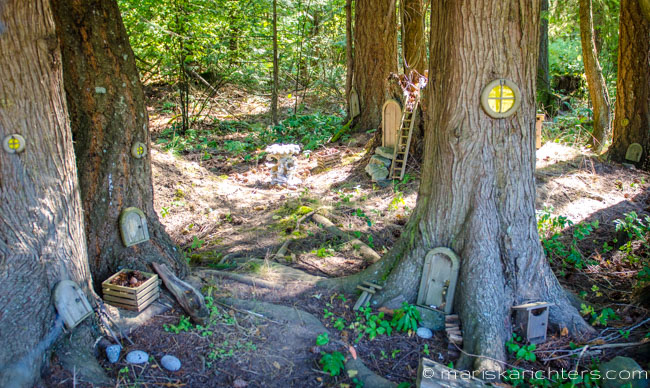
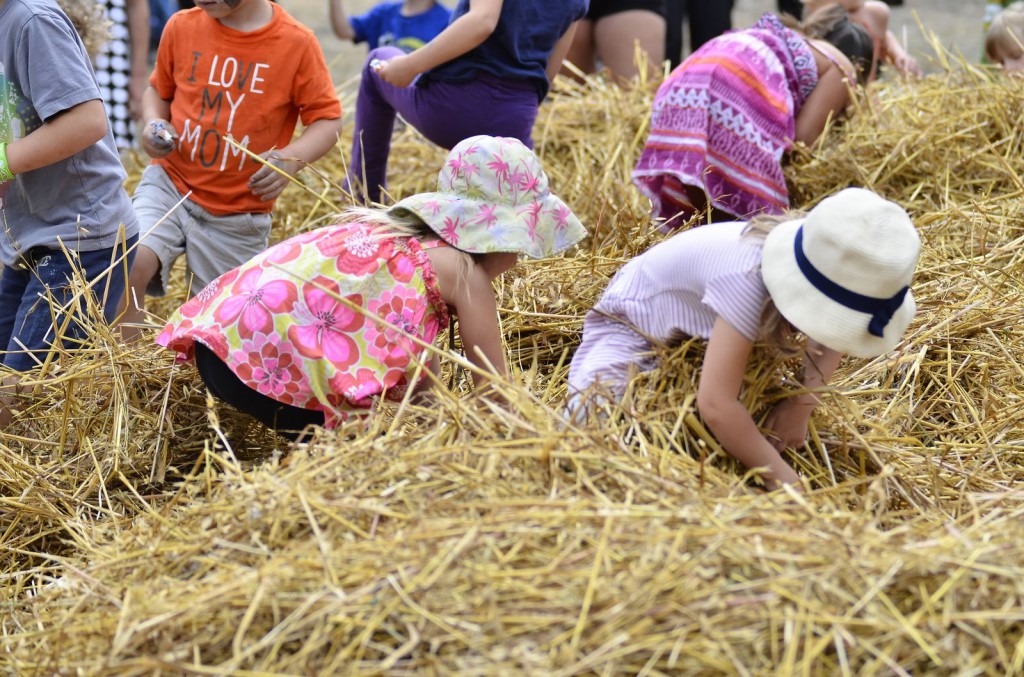
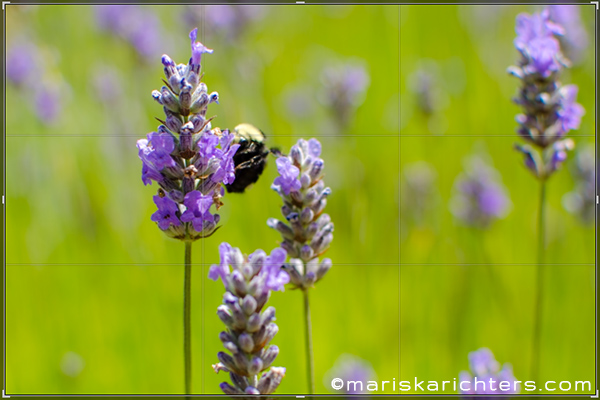
2. Orchard Faeries
Besides the resident bee hives, birds and other creatures, the orchard is home to a community of faeries! Bring your children along on your orchard adventure (they tend to come out when you sing as you walk) and when you get to the cider bar, they can sample Merridale’s apple juice and collect an Orchard Adventure Stamp.
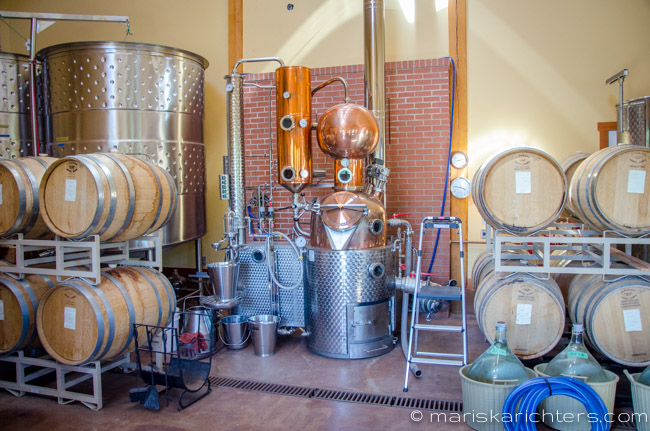
The Brandy House Distillery
The Brandy House is one of the few artisan distilleries in the province and offers tours, and tastings of their spirits, fortified line, and fruit based vodka. The Brandy House is also an excellent venue for stand-up receptions and is a unique venue to host company or group gatherings. Merridale will be adding their first whiskey product to their already impressive product line later this year. Stay tuned here and to the Merridale website for updates.
3. The Bistro
I try to plan my stop at Merridale so that I can enjoy lunch or a snack in the bistro. The food is inspired by traditional cider regions in Europe using local seasonal ingredients and fresh cut herbs. The bakery features an amazing outdoor brick oven.
[Tweet “9 Reasons to Visit Merridale Cidery – #VancouverIsland #WineTours @merridalecider”]
4. Sunday Night Pizza and Music
Every Sunday throughout the summer, Merridale hosts their famous pizza nights on their covered deck. Each week they feature several unique artisan pizzas straight from their brick oven featuring housemade charcuterie and local seasonal produce. Pair that with a fresh glass of cider and local musicians and you’ve got yourself a fun evening out to get your upcoming week started off just right. For a list of musical artists, visit Merridale’s events page.
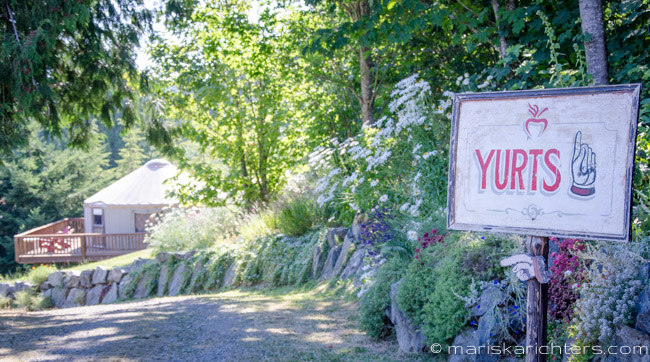
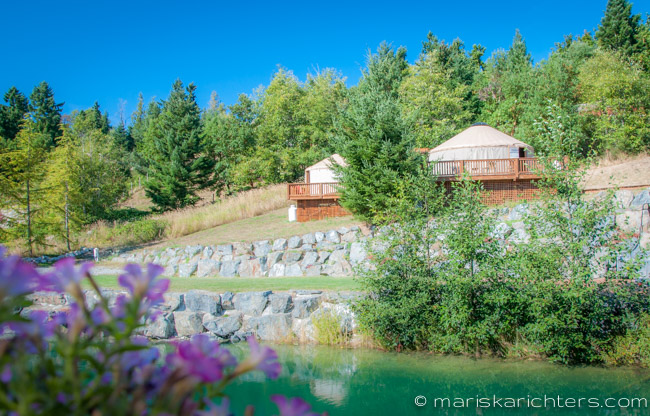
5. Yurts and the Orchard Spa
Sip cider and nibble on charcuterie while you get pampered in the Merridale Orchard Spa! The spa is located in the Merridale yurts which include with a relaxation patio overlooking the pond. “What IS a yurt?” you may ask. A yurt is a portable, round dwelling used by the nomadic groups of Central Asia. Yurts have been around for at least three thousand years, and are known for their spiritual and calming benefits. The yurts are also available for romantic getaways from April to October. For rates and more information or to make a reservation contact Merridale staff.
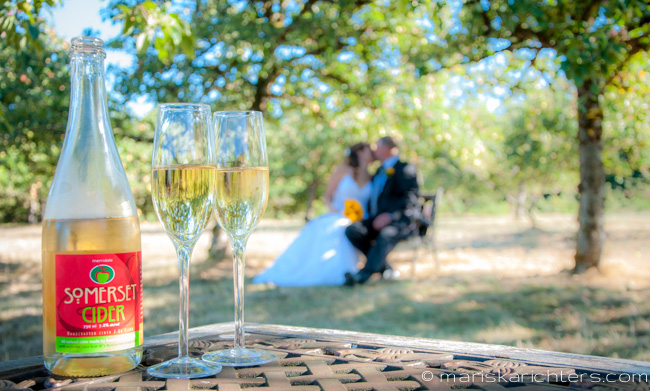
6. Get Married!
Merridale Cidery is a magical venue for a wedding! Get ready with your wedding party in the yurts or the outdoor bridal suite. Then walk down the manicured lawn and exchange vows in the pond-side gazebo. Celebrate and feast with your guests with gourmet food and drink in the Ciderhouse with a panoramic view of the orchard below.
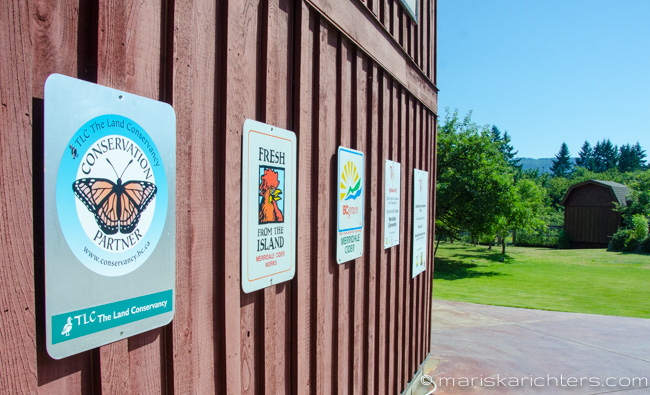
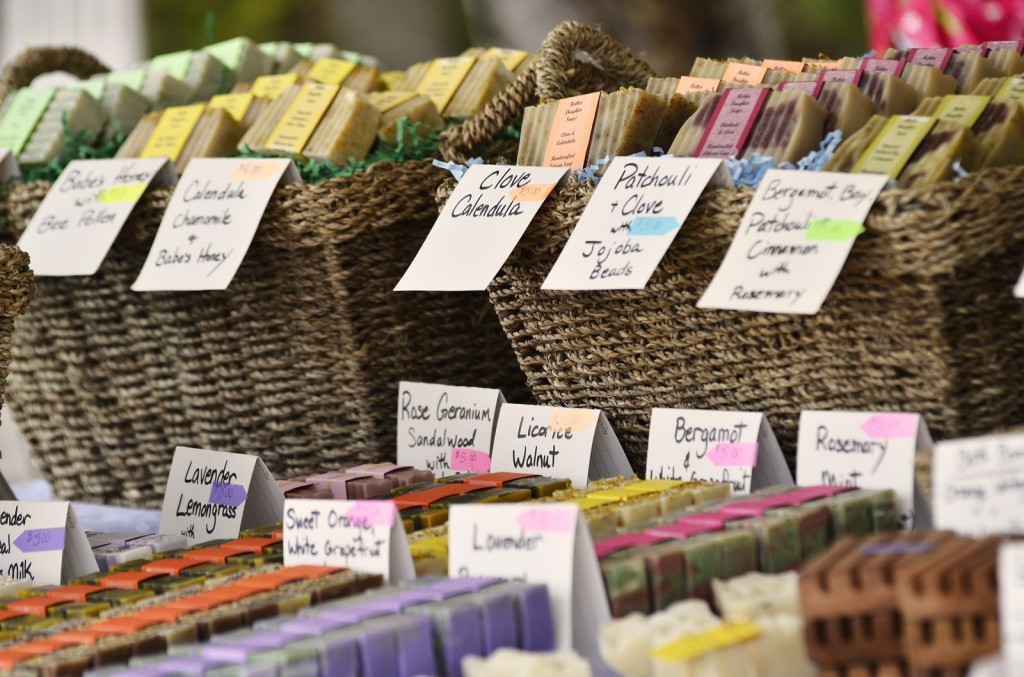
7. Local Products
Not only does Merridale grow their fruit locally, but they also support other local farms and artists in the Cider Shop. You’ll find products from local cheeses and sausage to blown glass, paintings and cider-scented soaps. It’s definitely worth checking out to support the local community.
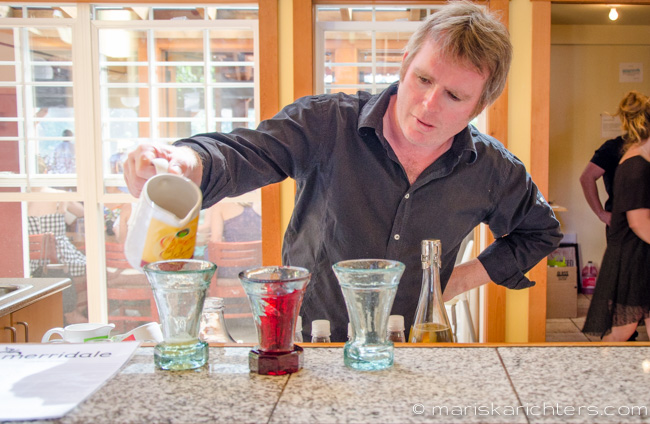
8. Tasting: Merridale Ciders
Merridale makes a variety of beverages from ciders to ports to spirits, listed below. Tastings cost $5 (including tax) and all proceeds are donated back into the community to their charity of the month.

- Monarch Cider – It’s dry, bubbly, and created from a balanced blend of full bodied cider apples.
- Traditional Cider – It’s light, dry and effervescent. It appeals to true cider connoisseurs, and has been called “the best English-style cider in Canada” by wine expert Jurgen Gothe.
- House Cider – A lighter, sweeter version of our traditional cider, but still very dry.
- Scrumpy Cider – Scrumpy is strong and sharp, and rich in the flavours of our strongest cider apples.
- Cyser Cider – A traditional blend of pure vintage apple juice and wildflower honey, combined in a slow fermentation process that dates back to the Viking days.
- Merri Berri Cider – A refreshing blend of apple cider and the unfermented juices of a blend of BC berries and fruits.
- Somerset Cider – Dry and sparkling with balanced acids. Somerset is slowly aged for more than a year to become completely dry and is bottled Champagne style so it’s perfect to celebrate a special occasion.
9. Tasting: Merridale Spirits & Fortified Products
- Winter Apple – A fresh and velvety sipping drink with an aroma of baked apples and buttery brown sugar.
- Pomme Oh! – A delicate balance of apple and brandy with a soft, slightly sweet finish. This is wonderful with soft cheeses.
- Mure Oh! – Has a strong blackberry odour and taste with a bitter sweet finish. Great for dessert or with apple pie.
- Stair’s Pear Brandy – Exhibits a clean fresh pear nose enhanced by the oak with subtle fresh aromas of pineapple and lemon zest finishing with strawberries and marzipan.
- Cowichan Cider Brandy – Made from six different blends of cider apples which we then placed in French Oak Barrels. When tasting the brandy, it is best served in a ‘snifter’ at room temperature. Swirl it in the glass and enjoy the aroma.
- Frizz Vodka – This is not fruit infused vodka, but vodka made from fruit. It is a secret blend of spirits made from cherries, plums, apples, and some pear. To make it a little more fun and distinctive, they’ve carbonated it!
- Blackberry Oh de Vie – Unfermented blackberry juice is added to rough brandy for the final distillation. This brandy has hints of anise along with the blackberry notes.
- Apple Oh de Vie – Has a distinct apple and cider aroma with a slight floral undertone of spring apple blossoms. It is wonderful as a digestif or in your favourite martini.
So what are you waiting for? Merridale Cidery is a fun afternoon outing for the whole family! Wander the orchard, search for faeries, learn about the cider making and distillery processes and then tickle your tastebuds with a bite and a tasting.
Have you visited Merridale Cidery? What was your favourite Merridale product?
Where is Merridale Cidery?
1230 Merridale Road, Cobble Hill, BC
Phone: 1.800.998.9908
Website: merridalecider.com
Follow Merridale on Facebook and Twitter.
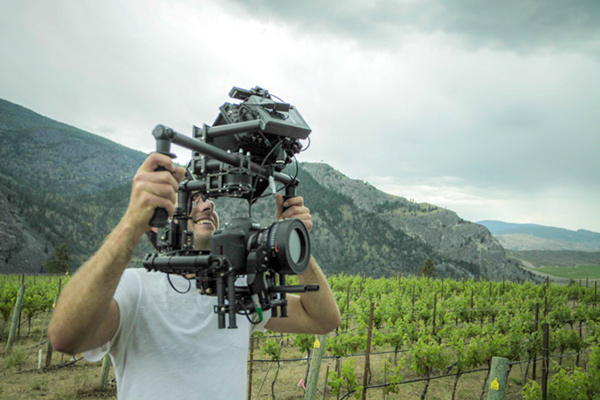
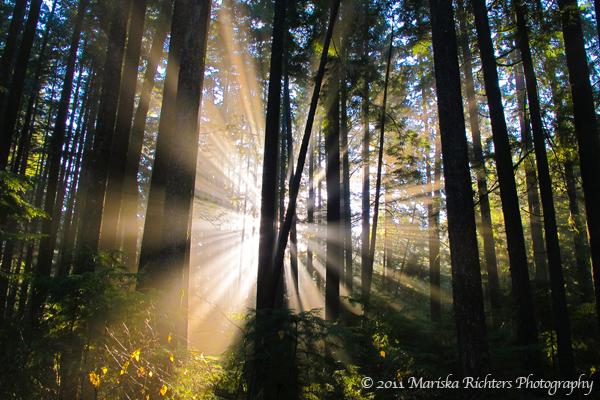

 Hold the Camera Properly – Hold your elbows close to your body and hold your left hand under the lens. Release the shutter just after you exhale to help hold the camera steady and minimize camera shake.
 Use a Tripod – This is the best way to ensure sharp images, especially when shooting at long shutter speeds. A monopod may be a better option for action shots to minimize camera shake but still move around fairly easily. If you don’t have a tripod or monopod, brace the camera on a solid object like a post or a wall. When all else fails you can kneel or lie down to create a more stable position.
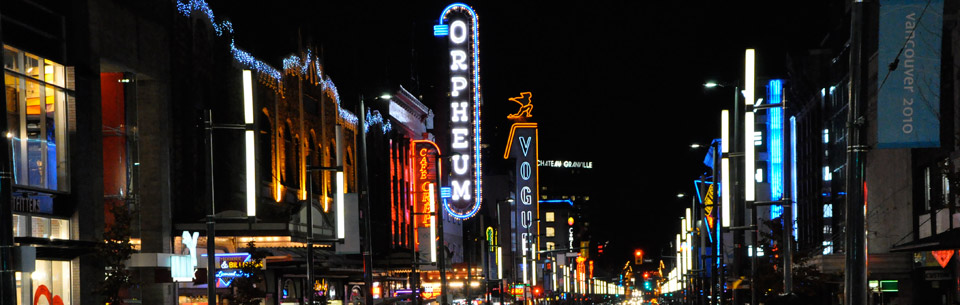
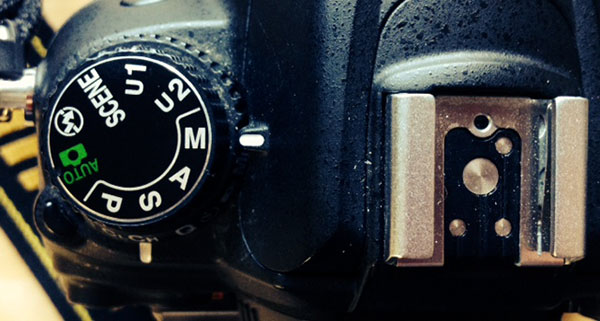 Shutter Priority [S] – Mastering this setting will allow you to control motion blur of your subjects. Try experimenting on a moving subject (I learned by sitting on the side of a busy street and shooting cars), shoot a few shots at 1/1000 sec to freeze your subject, and then try again at a much slower shutter speed like 1/15 sec to create some blur. Mastering this setting will open the door to creativity in your photography.