Last week’s I shared some tips about camera setup and shoot planning, this week I’ll be sharing tips about exposure and camera settings. There are some basic tips here as well as a few for more advanced photographers. I hope there’s something here you are able to learn from, and I’d love to hear any tips you might have to add in the comments below.
10 Exposure and Camera Setting Tips
- Exposure Bracketing – To ensure you get the shot, take two or more exposures at different shutter speeds. You can combine them later to adjust for high contrast images.
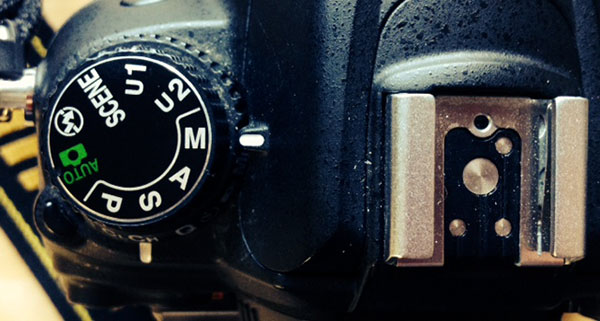
- Aperture Priority [A]- This setting lets you control the depth of field and then sets the appropriate shutter speed for your lighting situation. If you’re not familiar with how aperture works try taking a test shot with a wide aperture like f/4 to blur out the background, and then another of the same subject at f/16 and you’ll notice that more of the background is in focus.
 Shutter Priority [S] – Mastering this setting will allow you to control motion blur of your subjects. Try experimenting on a moving subject (I learned by sitting on the side of a busy street and shooting cars), shoot a few shots at 1/1000 sec to freeze your subject, and then try again at a much slower shutter speed like 1/15 sec to create some blur. Mastering this setting will open the door to creativity in your photography.
- Program Mode [P] – Many people write off program mode as an automatic point-and-shoot option, but if you don’t need a specific aperture or shutter speed, using Program frees you up to focus on composition and timing your shots.
- Manual Mode [M] – I use manual mode whenever I can as it gives the most control. Many cameras show you the expected result on the display, but I don’t shoot in live mode so I take a test shot and then adjust my settings as needed. You will need to have time to make any adjustments if you’re shooting in manual mode, so unless you’re super fast and intuitive with your settings, you may want to avoid manual mode for action shots.
- Use a Polarizer – My polarizer filter is one of my favourite accessories that I carry in my camera bag at all times. It allows you to reduce reflection as well as increase colour saturation. It also reduces light so it’s a great option for situations where you want to use longer shutter speeds or wide apertures in low light.
- Watch Your Display – When shooting in aperture or shutter priority modes, keep an eye on the in-camera display through the view finder. If it flashes Hi or Lo you will need to make an adjustment to your settings to ensure you get a sharp shot shot.

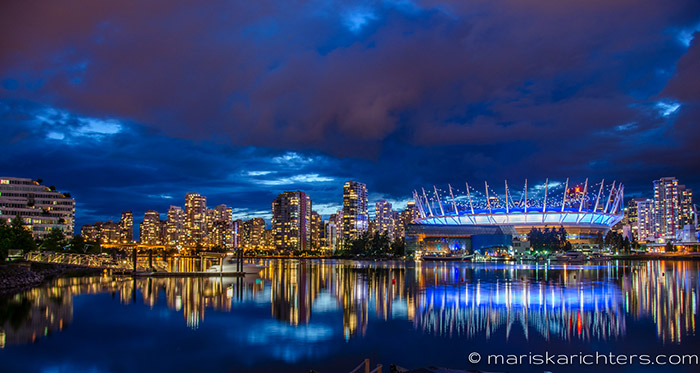
- Bulb Mode [B] – Use bulb mode for long exposures in low light, and make sure you use a tripod for sharp results. Bulb allows you to keep the shutter open for as long as you hold down the shutter release button. If you have a remote control for your camera, you can use it to control the shutter as well. Click once to open the shutter and click again to close it.
- Use and Understand the Histogram – The histogram display will give you information about your exposure. Large gaps to the far left or right indicate under or overexposure. You will gain even more information about your image exposure if you use the RGB histograms.
- Use a Tripod – I love night photography and long exposures, so my tripod is my best friend in those situations. Make sure you have a reliable tripod that is sturdy enough to hold the weight of your camera. I love my Jobi Gorillapod, but it’s not quite sturdy enough to safely hold my DSLR, so I use a heavier Manfrotto and save the Gorillapod for my Canon G12 point-and-shoot.
Do you have any tips to add? Please share them in the comments below.
Stay tuned next week for more photography tips, when I zero in on focusing and sharpness.
[Tweet “Improve your photography: 10 Exposure and Camera Setting Tips. #Photography #PhotoTips”]


